Use the hardware-based full disk encryption of your TCG Opal SSD with msed
Contents
(This post has been updated since initial publication, see last section for details.)
Introduction
My blog post on usable hardware-based SSD encryption has seen a great deal of activity. Although that post dealt primarily with the ATA security based type of hardware-based full drive encryption, readers from all over joined the discussion in the comments to talk about an increasing number of new self-encrypting drives supporting the TCG Opal standard.
Up until recently, configuring these TCG Opal drives was only possible under Windows, or under Linux with a commercial solution that was not available to mere end-users. Fortunately, a programmer named r0m30 stepped up to the challenge and has developed an open source utility called msed and an accompanying pre-boot authorization (PBA) image with which the super fast encryption function on these drives can be fully configured and used also in pure Linux systems.
This post summarises how I built, configured and installed msed and its PBA on my Ubuntu 14.04.1 machine with its Samsung 850 PRO 512G TCG Opal-compliant SSD.
How does TCG Opal drive encryption work?
Many modern SSDs perform transparent AES encryption on all written data in hardware. One advantage of this approach is that the whole drive can be secure erased by simply generating a new set of encryption keys. Another advantage is that users can have all of their data fully encrypted at rest without any performance hit whatsoever. Also, third-party software-based drive encryption negatively affects SSD performance and longevity, for the largest part because this data is basically incompressible when it hits the drive.
TCG Opal is a new standard for communicating with supporting drives concerning their encryption functionality. Furthermore, it includes a really elegant way to have the user supply their authorization credentials.
In its default state, the main disc area is completely locked and inaccessible. However, when the system is booted, the encrypted disc exposes a fake disc from its firmware, called the shadow MBR (master boot record), 128MB in size. Usually this shadow MBR is flashed with the pre-boot authorization (PBA) image, which is in essence a small operating system (including MBR, boot sector, filesystem) that asks the user for their drive password, which it then communicates to the disc via OPAL commands. If the password is valid, the disc unlocks itself, and then the real operating system is loaded up.
This white paper by HP contains an explanation of the provisioning and boot process on page 5. To summarise: Once correctly configured, a system with such an OPAL-compliant disc will request the drive password at boot. The drive will only unlock and decrypt if the correct password is supplied.
Building msed and its PBA image from source
r0m30 programmed a suitable PBA image based on the syslinux open source, and a utility called msed for the provisioning (setting password, writing PBA image) of OPAL drives.
Because this software performs a security critical function, I reviewed as much as possible of the source code in syslinux/com32/msedpba (the Opal-specific part of the PBA) and of the whole msed utility, including the script that builds the PBA image. (I also spent some hours disassembling the binary PBA image.)
After this mini review, it was of course preferable to build and use my own binaries.
To build both the PBA image and msed from source, I did the following:
|
|
Stripping the msed binary at top-level, I found an md5sum-identical binary to the 0.20.0 one that I downloaded from r0m30’s site:
|
|
Installing the msed PBA
This is very important: I’ve configured my BIOS to boot in legacy mode, i.e. NOT UEFI. The msed documentation also states that this is necessary. It also makes sense, because the PBA image is a legacy boot image!
msed needs libata.allow_tpm to be configured for the running kernel. I edited /etc/default/grub so it looked like this:
|
|
… after which I did update-grub and then rebooted. After reboot, msed –scan gave me sensible output.
It was now time to configure the drive for encryption. I found this quite stressful; I’ve had near-bricking experiences with expensive Intel 520 SSDs during some of my previous ATA security experiments with flakey BIOS implementations (Insyde H20, what a mess). In any case, I followed this procedure:
|
|
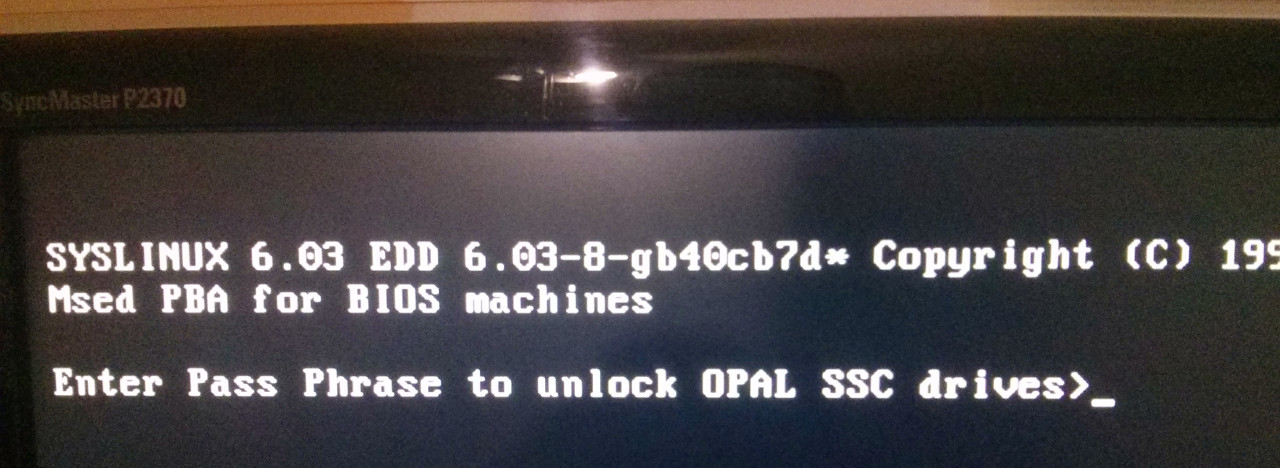
After this, I switched the machine off, and on again. Lo and behold! I was prompted for my OPAL password at bootup, and could let myself in.
To test, I booted up the machine with a Linux Live USB. In place of the encrypted disk I could only see the shadow MBR.
Conclusion
TCG Opal is a great way of using your SSD’s hardware-based full disc encryption. I am very grateful to r0m30 for creating msed and its PBA image: These are crucially important open source tools for working with Opal discs.
P.S. but very important: In 2018, security researchers at the Radboud University discovered that a number of mainstream self-encrypted SSDs could be hacked by the serious hobbyist.
See this Radboud University release for more information.
Caveat Emptor.
Updates to this post
August 11, 2020
Added link to 2018 Radboud University study re self-encrypting SSD hardware flaws.
June 9, 2016
Fixed missing “of” in title. Thanks adutoit!
After adding a 500G Samsung 850 EVO to the 850 PRO already in my desktop machine, the BIOSPBA was not able to unlock both drives. However, after a quick upgrade to the LinuxPBA using the same procedure as documented in this post, both drives unlock after correct password entry. As an added bonus, with the BIOS on this machine set to Legacy+UEFI, I legacy boot into the PBA, enter my password, have both drives unlock, and then automatically UEFI boot to any of the operating systems on the GPT partitions of the unlocked drives.